A while ago I decided that I was sick of the old, white, cheap cardboard look of my comic box. Once I got around to jazzing it up a bit, I thought I would write an article on “How to hide your comic box.” This article has been sitting in my writing file for some time now; I thought it might be a bit girlie, but after reading Brent Chittenden’s “A Place for My Stuff,” I decided to open the file again. I hope you enjoy my first how to.
I live in downtown Toronto, meaning small condo and no basement. As an avid comic collector, I have a couple comic boxes that sit right out in the open. I am a proud nerd, but I am also an adult and the stark white cardboard for a comic box doesn’t quite blend into the rest of my apartment. Feeling ambitious and crafty I decided to hide my comic box .
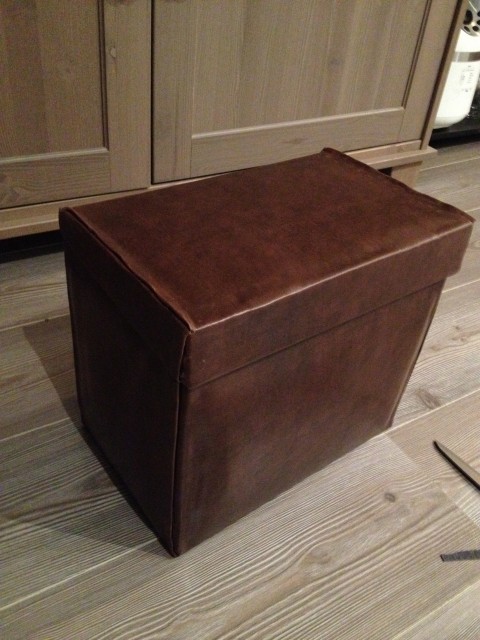 If you are sick of your plan old comic box, or want it to blend into your home, here is how I did it.
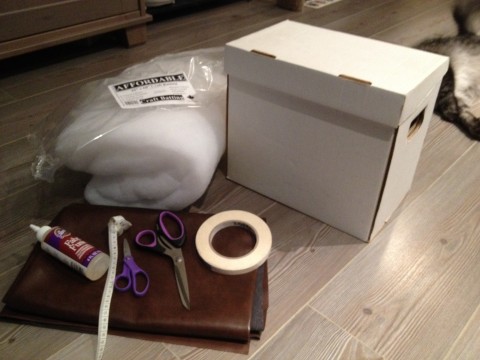
First you will need the following materials:
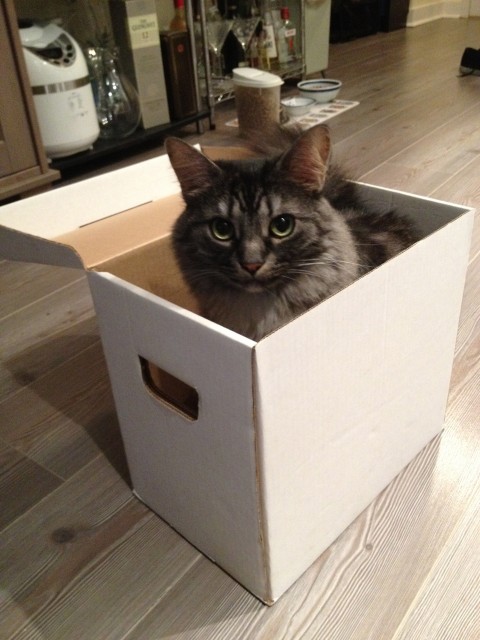
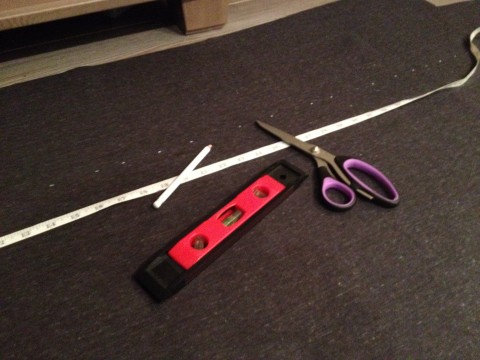
Scissors, fabric glue or hot glue gun, double sided tape, fabric (I needed about a yard and half (around 40″ x 45″), craft batting, measuring tape, marking pencil and your comic box. You don’t need a cat… actually you can probably do without the cat…this kept happening.
I wanted my box to blend so I used fabric, you can also use wrapping paper or old comics. If you want your comic box to stand out you can use something with a cool pattern like the following pic. I was also looking at Star Wars fabric, but then realized I wouldn’t really be hiding my comic box.
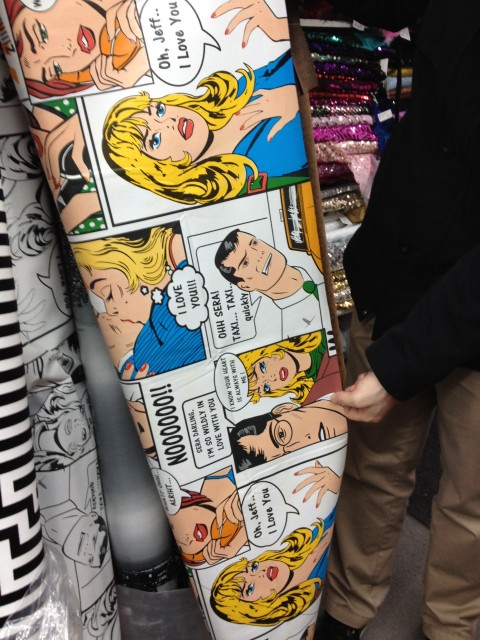
Note: batting is only used if you are covering your box with fabric. It stops the fabric from sliding.
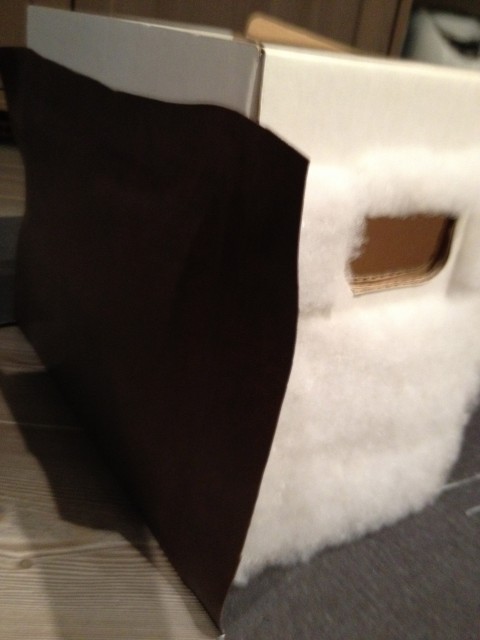
Cut the batting one inch smaller then the side of your box and glue it on (be careful with hot glue because the glue can seep through the batting) do the same for all four sides and the top, it does not need to be done on the bottom.
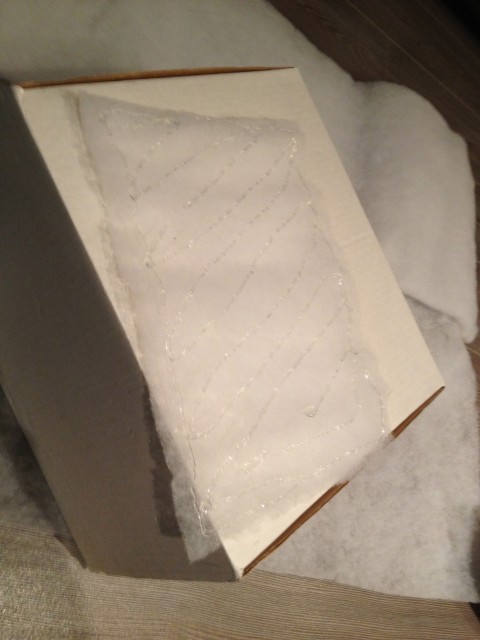
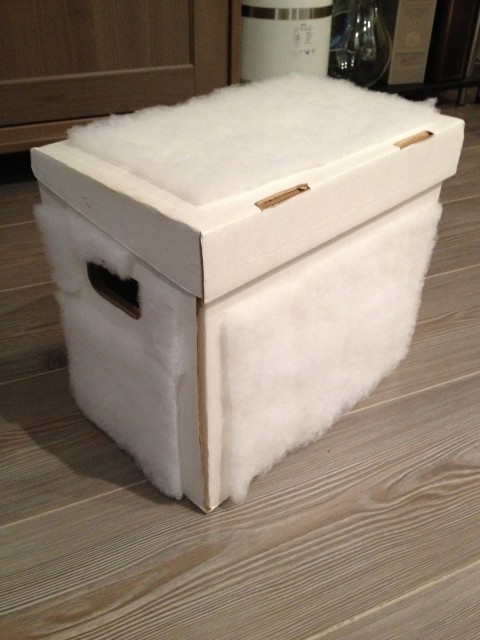
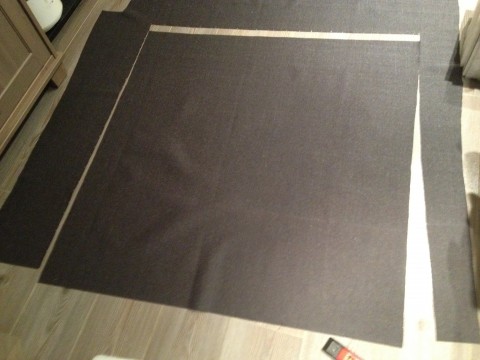
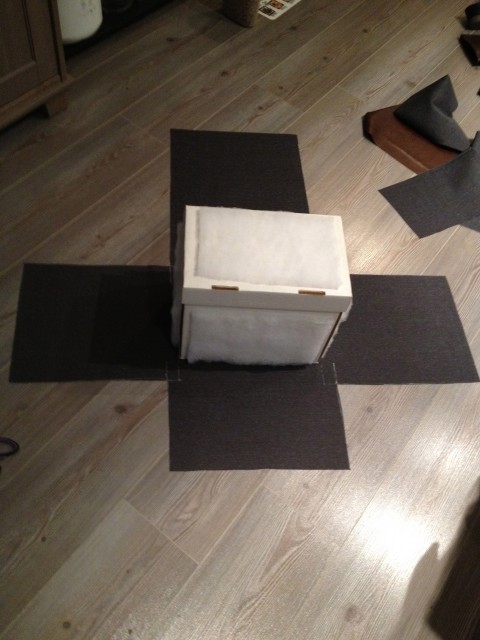
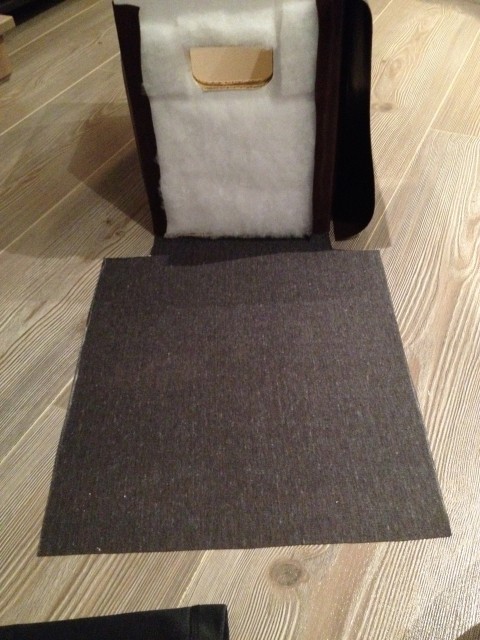
Next up, place your box in the middle of the fabric, measure the height of the front and sides, mark with pencil on the fabric. Add a couple extra inches to your measurement so you can wrap the fabric inside the box making better looking edges. For the back box, make sure you measure the height of the back and the height of the top of the lid all the way to the lip on the front of the lid. Then add an extra inch to make sure the fabric will wrap around to the inside of the lid. Add them together, then mark that measurement on the fabric. (I am terrible at drawing straight lines, so I used a level because I don’t own a ruler)
Place your box back in the middle of your fabric, and measure the width of all the sides marking it with a pencil. To get clean finished looking edges be sure to add an extra inch of fabric on every side. For the back/top piece of fabric, make the width the same size as the side lips of the lid. This way when you pull the fabric over it will completely cover the entire lid.
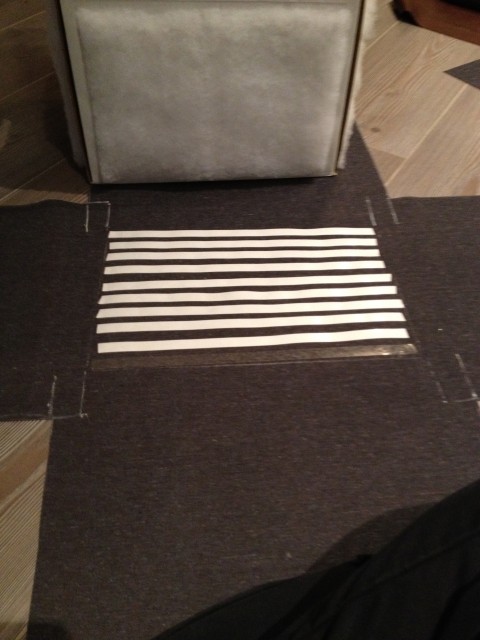
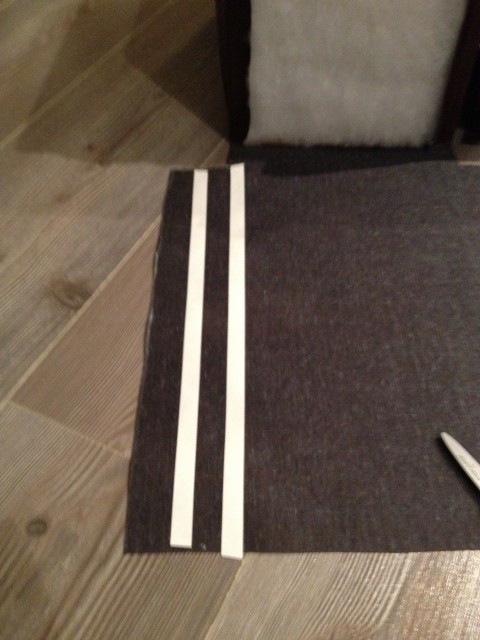
Place your double sided tape down on the middle of the fabric. Then place your box on top. I went a little overboard because I was afraid it wouldn’t stick.
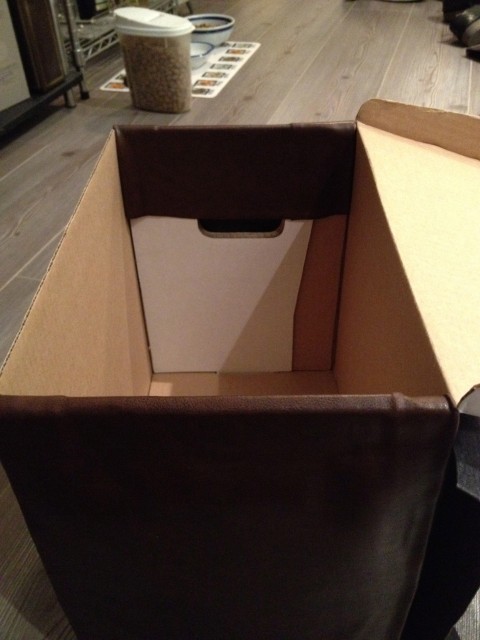
Starting with the front piece, use the double sided tape on all the box edges that are exposed and don’t have batting on them. Then pull the fabric tight and smooth over the box. Wrap the extra inch of fabric you left on either side around the corners and tape down.
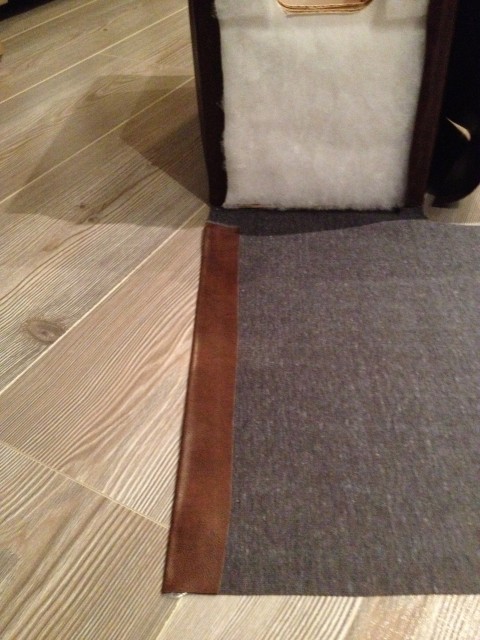
Moving on to the sides, to create the finished edges place double sided tape on the extra inch of fabric and fold the edge over creating a lovely folded edge that will make a nice finished look.
Pull the fabric tight and smooth on the sides of the box. Fold the excess fabric at the top inside the box taping it down as well. As you can see below, I covered over the handles. If you are feeling confident in your crafting abilities you can cut out the handles using the double sided tape to keep the fabric close to the edges
Do the same to the back piece, and top. When you get to the top you will have excess fabric hanging over the sides. Snip the corners with your scissors and pull all the extra fabric around the sides of the lid using the tape to keep it down.
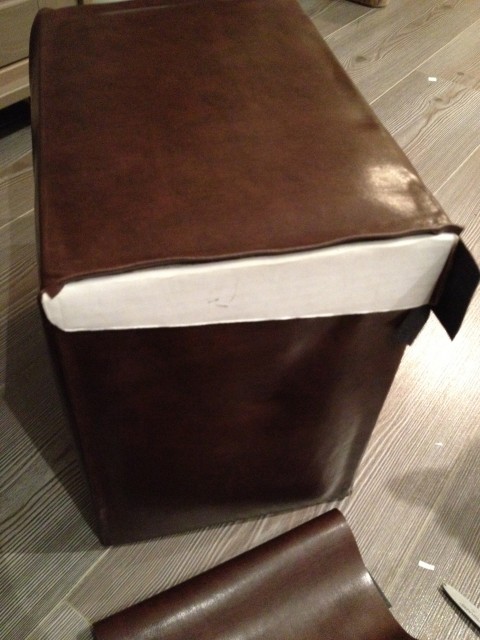
Ta Da! You should be finished hiding your comic box! If there are any loose pieces you can use the glue gun to stick it down.
And below was my finished product!
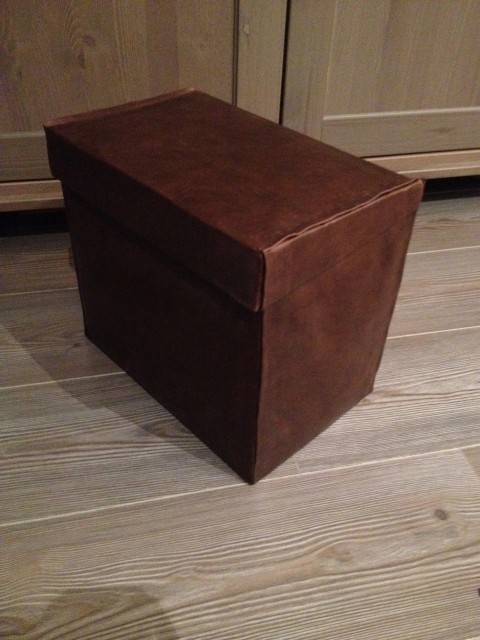
I hope you enjoyed my first how to and that your comic box is more beautiful than ever!



What would you estimate your material costs were?
I see an Etsy shop in your future!
Really like the idea! I may do that with a leftover box (comics that won’t go in the shelf).
Ha! thanks Scott!
I think I spent about $30-$37 in total, but I purchased pretty expensive fabric. If you do it with paper, comic pages or cheaper fabric you can make it very inexpensive. Plus, the batting I purchased came with a lot so you can use it for several boxes.